Jekyll on Win10
- Personalizing GitHub Pages
- Jekyll on Win10
- Twitter Cards on Jekyll
Last update: September 2019
This blog lives on GitHub Pages, and my personal computer is running Windows 10. This is a lot like owning a cat and a dog. With enough time and effort, they’ll begrudgingly tolerate each other, and not much else.
Back in the dark ages, I used to commit and push every single tweak to see how Jekyll/GHP/my theme behaved. You can look through this blog’s commit history for multiple fun sessions of 5-6 straight commits trying to wrestle with CSS.
In the slightly less dark ages (2017), I initially posted this walkthrough. It was long, and it sucked. I mean, it worked, but it was a journey. There’s a reason we call it bleeding edge technology.
Now, Ubuntu on Windows is mainstream, and making this happen is pretty painless. Technology works sometimes!*
* - [footage not found]
The instructions below are a drastically simplified 2019 overhaul of my 2017 process.
What To Do:
One-Time Install
Enable Windows Subsystem for Linux (WSL). This requires a reboot.
# Run PowerShell as administrator
Enable-WindowsOptionalFeature -Online -FeatureName Microsoft-Windows-Subsystem-Linux
Upon restart:
- Open the Microsoft Store > Ubuntu app > Install, then Launch
- Set up a username and password for use only in Ubuntu
Now you have a bash prompt, something like brian@COMPUTER:~$
# Update all packages
sudo apt-get update && sudo apt-get upgrade
# (sudo will prompt for the password you just created)
Using Ubuntu instead of local Win10 makes this a million times easier. Copying Jekyll on Ubuntu:
# Install dependencies
sudo apt-get install ruby-full build-essential zlib1g-dev

# Prefer installing gems for your user instead of root
echo '# Install Ruby Gems to ~/gems' >> ~/.bashrc
echo 'export GEM_HOME="$HOME/gems"' >> ~/.bashrc
echo 'export PATH="$HOME/gems/bin:$PATH"' >> ~/.bashrc
source ~/.bashrc

# Install Jekyll and Bundler
gem install jekyll bundler
Here are the previous instructions, in case you want to smile at this point like I am.
On Each Run
Search for “Ubuntu” in the Windows start menu. Run the app.
# You'll probably be told "X packages can be updated." upon launch
# Update all packages
sudo apt-get update && sudo apt-get upgrade
# Go to the directory you cloned your blog repo to
# Tab completion works, but case-sensitivity matters
cd /mnt/c/Users/brianbunke/OneDrive/GitHub/brianbunke.github.io/
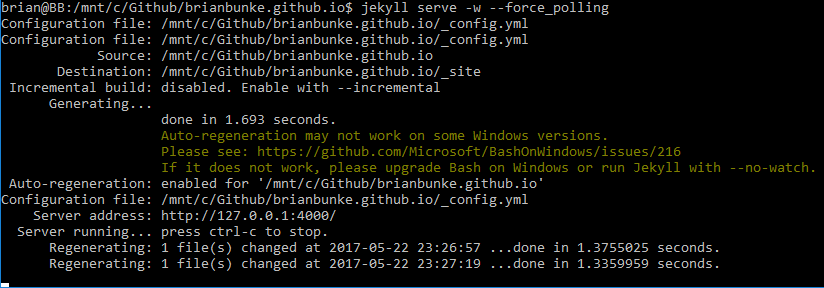
# Run jekyll
jekyll serve
Then, as referenced in the Bash window, you can hit http://127.0.0.1:4000 in your browser to view the locally generated version of your site.
If you want to make any tweaks while Jekyll is running, it’s also watching. You’ll see a “Regenerating:” line in the Bash window after each save, after which you can simply refresh your browser.
Running jekyll serve may pollute Git with a bunch of extra files. If so, add these three lines to your .gitignore file:
# Jekyll Specific
_site/
.jekyll-cache/
Local previews make the writing/editing process far more tolerable, and removed the only real pain point I was feeling after migrating to GitHub Pages. But of course, don’t take my word for it, it’s your turn to try it out!
Next post in the series: Twitter Cards on JekyllPast versions of this post referenced @FooBartn’s “Install Jekyll on Win10 (The Awesome Way)”. So thankful that post existed, but equally thankful that so many steps are no longer necessary.